
Create a vineyard
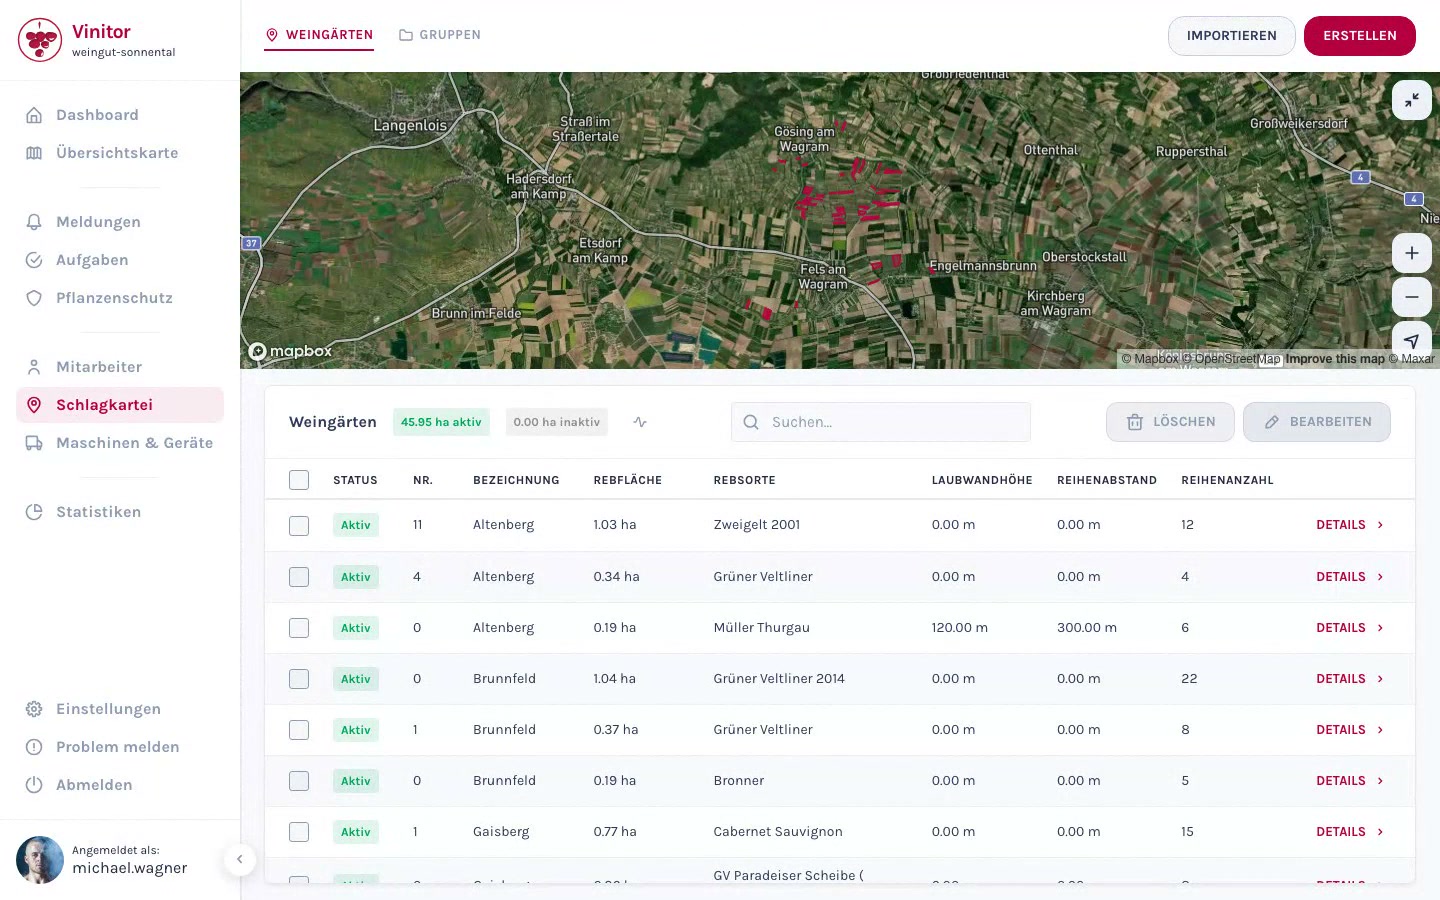
A new vineyard is created via a four-step wizard. You first set the area on the map, then enter the master data, optionally upload files, and assign the vineyard to groups.
Start the creation wizard
Section titled “Start the creation wizard”-
Open the field record book
In the sidebar, navigate to Field record book. You’ll see your existing vineyards in the list view.
-
Click Create
Click the Create button in the top right. The creation wizard opens.
Step 1: Set the GPS boundaries
Section titled “Step 1: Set the GPS boundaries”In the first step, you draw your vineyard’s area on the map.
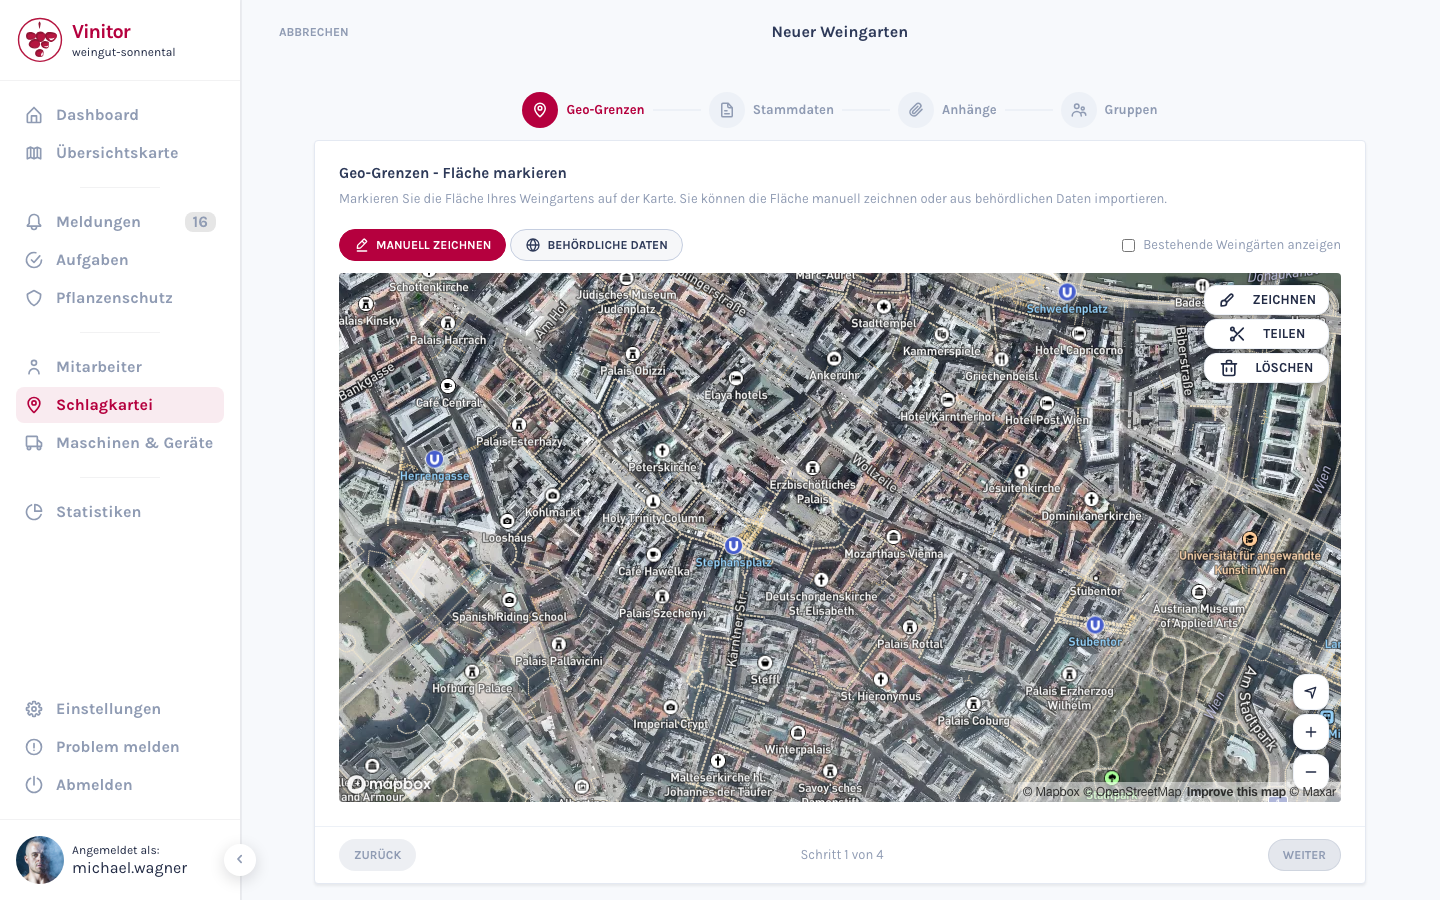
You have two ways to define the area:
Click Draw manually and place points on the map to draw your vineyard’s polygon. The area is calculated automatically in hectares.
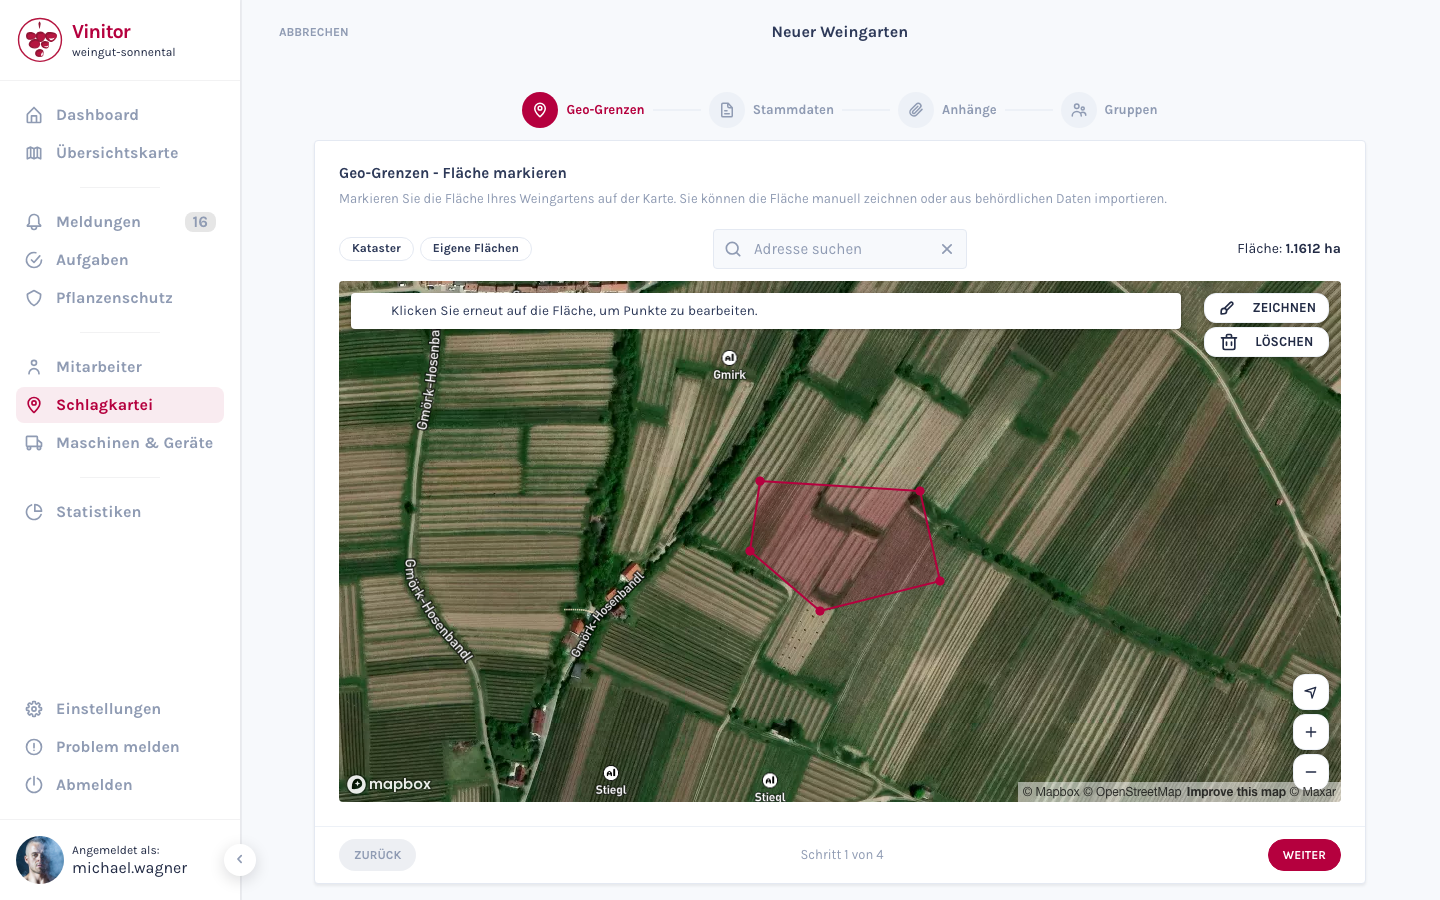
- Click the map to place corner points.
- Close the polygon by clicking the first point.
- Vineyards already drawn are shown as a reference.
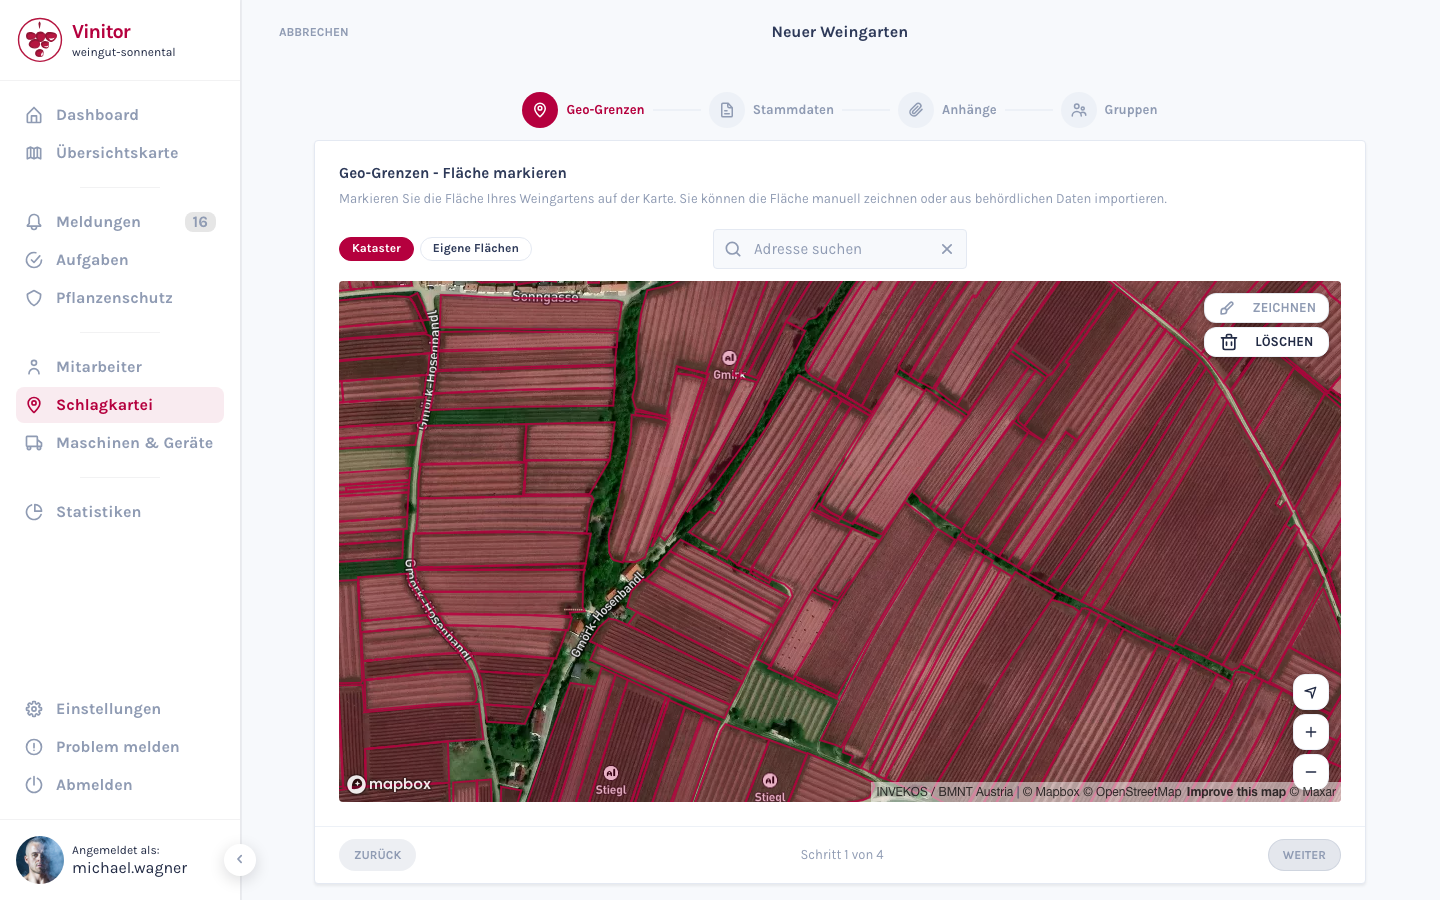
Click Show cadastral data to load area data from official cadastral registers. Select the matching area and apply it. Name, Rieds and area are then pre-filled automatically. Cadastral data is available for Austria, Switzerland, Baden-Württemberg (Germany), South Tyrol (Italy) and Czechia.
Step 2: Enter the master data
Section titled “Step 2: Enter the master data”Fill in the vineyard’s master data:
| Field | Required | Description |
|---|---|---|
| Name | Yes | Name of the vineyard (e.g. “Altenberg”) |
| Number | No | Internal business number used for unique identification |
| Grape variety | No | Variety grown (e.g. Grüner Veltliner, Zweigelt) |
| Rieds | No | Site name / local name |
| Vine area (ha) | No | Calculated automatically from the map geometry; can be overridden manually |
| Row count | No | Number of vine rows |
| Row spacing (cm) | No | Distance between the vine rows |
| Leaf wall height (cm) | No | Height of the canopy |
| Owner | No | Automatically filled with your business name |
| Notes | No | Free-text field for additional information |
Step 3: Upload attachments
Section titled “Step 3: Upload attachments”You can optionally attach files to the vineyard already during creation — e.g. cadastral extracts, photos or analysis results.
Drag and drop files into the upload area or click the area to select a file. Supported formats: PDF, Word, Excel, PowerPoint, images (JPG, PNG, GIF, SVG), CSV, TXT and ZIP.
For more information, see Files & attachments.
Step 4: Assign groups
Section titled “Step 4: Assign groups”In the last step, you can assign the new vineyard to one or more existing groups. Select the groups you want from the list.
This step is optional — you can also change the group membership later in the detail view.
Save the vineyard
Section titled “Save the vineyard”Click Save to create the vineyard. It then appears in your field record book and — if an area was drawn — on the map.
SUPPORT
Need help?
Our team is happy to help with any questions about Vinitor.